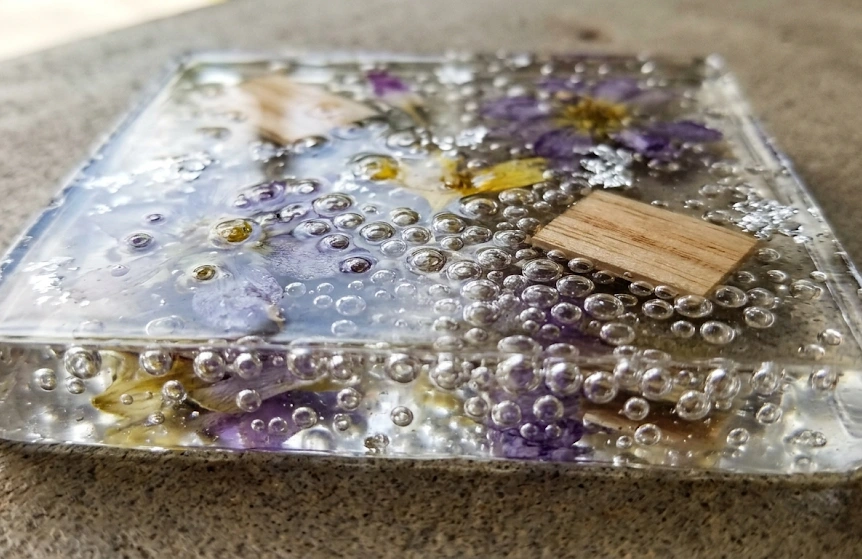
We’ve all been there. You spend hours prepping a beautiful piece of wood, carefully measuring your parts, and pouring what you think is a masterpiece. But when you come back to check on it, you find epoxy resin bubbles staring back at you, completely ruining that perfect, glass-like finish.
It is incredibly frustrating. Let’s be honest, dealing with trapped air pockets is one of the biggest headaches for both beginners and seasoned professionals alike. But don’t throw in the towel just yet.
Beating epoxy resin bubbles isn’t about luck; it’s about understanding the chemistry and adjusting your process. In this guide, I’m going to walk you through exactly why these annoying little pockets of air happen and, more importantly, how you can banish them from your workshop for good.
Table of Contents
Why Do Epoxy Resin Bubbles Form?
Before we can fix the problem, we need to know what’s causing it. Epoxy resin bubbles usually form due to two main culprits: aeration and outgassing.
Aeration happens when you whip air into the mixture during the stirring process. Think of it like scrambling eggs—the faster you whip, the more air you introduce. Outgassing, on the other hand, happens when the material you are pouring over (like wood or concrete) releases trapped air as the resin heats up and cures.
When the resin is too cold, it becomes thick and viscous, trapping those air bubbles inside before they have a chance to rise to the surface and pop.
How to Prevent Epoxy Resin Bubbles: 7 Proven Methods
If you want a flawless finish, prevention is always better than a cure. Here are seven highly effective strategies to keep your pours crystal clear.
1. Warm Your Resin and Hardener
Temperature plays a massive role in viscosity. If your bottles have been sitting in a cold garage, the liquid inside will be thick like syrup, making it incredibly easy for epoxy resin bubbles to get trapped.
Place your sealed bottles of resin and hardener in a warm water bath for about 10 to 15 minutes before mixing. This lowers the viscosity, making the liquids much thinner. Thinner resin means bubbles can easily float to the top and burst on their own.
2. Mix Slowly and Deliberately
It’s tempting to vigorously stir your mixture to ensure parts A and B are perfectly combined. However, aggressive stirring is the fastest way to ruin a batch.
Use a flat-edged mixing stick and stir slowly. Make sure to scrape the sides and bottom of your mixing cup gently. Fast, whipping motions will fold air into the liquid, guaranteeing a cloudy, bubble-filled nightmare.
3. Invest in Proper Mixing Equipment
If you run a commercial operation, tackle large-scale projects, or manufacture high-viscosity materials, manual hand-mixing simply won’t cut it. To guarantee a perfect, air-free blend every time, you need to step away from the wooden sticks and look into professional gear.
Upgrading to specialized industrial mixing equipment is one of the smartest investments you can make for quality control. These machines are engineered to blend thick compounds smoothly without aerating them. For heavy-duty applications where you need to break down agglomerates while preventing epoxy resin bubbles, using a Cowles disperser is an absolute game-changer. The unique blade design creates a powerful vortex that pulls materials down into the mix, ensuring a perfectly homogenous, bubble-free batch at high speeds.
4. Pour in Thin, Manageable Layers
Unless you are specifically using a “deep pour” resin formulation, you should never pour thick layers all at once. Standard coating resins heat up very quickly.
When you pour too thick, the top layer cures and hardens before the bubbles at the bottom have a chance to rise. By pouring in thin layers (about 1/8 to 1/4 inch at a time), you give trapped air a very short distance to travel to escape.

5. Pop Them with a Heat Gun or Torch
Once you’ve poured your resin, you will inevitably see some micro-bubbles rise to the surface. This is completely normal. The best tool in your arsenal right now is a butane torch or a heat gun.
Lightly sweep the flame or heat gun about 4 to 6 inches above the surface. The heat instantly thins the top layer of the resin, allowing the surface tension to break and the epoxy resin bubbles to pop instantly. Keep the heat moving so you don’t accidentally scorch your project!
6. Seal Porous Surfaces First
Wood, concrete, and unglazed ceramics are notorious for “breathing.” When you pour warm resin over them, the air inside these porous materials expands and escapes, pushing right up into your curing resin.
To stop this outgassing, brush a very thin “seal coat” of resin over the surface and let it cure completely. This acts as a barrier, sealing the pores and preventing air from ruining your main, thicker flood coat later on.
7. Try a Vacuum Chamber for Stubborn Mixes
For those working with very thick resins, silicone molds, or casting complex shapes where absolute clarity is required, a vacuum degassing chamber is the ultimate safety net.
You simply place your mixed cup into the chamber and turn on the pump. The vacuum pulls the air out of the liquid, causing the bubbles to rise rapidly and foam at the top before collapsing completely. It adds a step to your workflow, but it virtually guarantees zero bubbles in your cast.
FAQ About Epoxy Resin Bubbles
References & Further Reading
- Epoxy (Chemistry, Properties, and Applications) – Wikipedia
- Material Science Insights on Epoxy Resin Structure – ScienceDirect
- Understanding Outgassing in Polymers – Wikipedia