Table of Contents
The Challenge of Pigment Settling
Anyone who has spent hours perfecting a formulation knows the frustration. You create what looks like a flawless, homogenous batch before leaving the lab, only to return the next morning to find a thick layer of sludge at the bottom of your beaker. Mastering lab scale dispersion is a critical first step in product development, ensuring that your paints, coatings, or inks remain stable long after they are mixed.
Scaling up a flawed lab formula will only amplify your settling issues in production. Therefore, stopping pigment flocculation and sedimentation at the bench scale saves time, money, and a lot of headaches down the road. Let’s break down the practical steps you can take to keep your pigments exactly where they belong: evenly suspended.

What Causes Settling in Lab Scale Dispersion?
Before fixing the problem, you have to understand the physics behind it. Pigment settling is largely dictated by gravity and the density difference between your solid particles and the liquid resin. If the liquid isn’t thick enough to hold the heavy particles, they will drop to the bottom.
Furthermore, poor wetting or insufficient grinding leaves particles clustered together (agglomeration). These large clusters have a higher mass, causing them to fall out of suspension much faster than finely milled, individual particles.
7 Proven Tips to Optimize Lab Scale Dispersion
1. Perfect the Wetting Phase
Do not rush the initial wetting stage. Before you increase your disperser’s RPM, ensure that the pigment powder is fully incorporated into the vehicle. Dry pockets of pigment will form stubborn agglomerates that are incredibly difficult to break down later.
2. Optimize Mill Base Viscosity
A common mistake is formulating a mill base that is too thin. You need a high enough viscosity to create mechanical shear against the disperser blade. If the mixture is too fluid, the blade simply stirs the liquid rather than grinding the particles. Adjust your resin-to-solvent ratio to achieve a tacky, donut-shaped flow during mixing.
3. Choose the Right Dispersant
Chemical additives are your best friends here. Using the correct polymeric dispersant prevents particles from clumping back together after they have been separated. Ensure you are calculating the active dosage based on the specific surface area of your pigment.
4. Monitor Temperature Closely
High shear generates high heat. If your formulation gets too hot during lab scale dispersion, you risk evaporating essential solvents or degrading your additives. Use a jacketed cooling vessel to maintain a stable, moderate temperature throughout the process.
5. Utilize Anti-Settling Agents
Incorporate rheological modifiers like fumed silica, bentonite clays, or specific waxes. These agents create a temporary three-dimensional network within the liquid when it is at rest, physically holding the pigment particles in suspension.
6. Control the Particle Size
The finer the grind, the slower the settling rate. Ensure you are running your dispersion equipment long enough to achieve the target Hegman gauge reading. However, avoid over-grinding, which can sometimes strip the dispersant from the pigment surface and cause immediate flocculation.
7. Maintain the Correct Blade-to-Tank Ratio
Geometry matters. Your disperser blade diameter should typically be about one-third the diameter of your mixing vessel. Position the blade about 0.5 to 1 blade diameter off the bottom of the tank to ensure a proper vortex without pulling in excessive air.
The Role of Proper Equipment
Even the most perfectly calculated formulation will fail if your hardware isn’t up to the task. Utilizing a standard overhead stirrer instead of a proper high-shear disperser is a guaranteed recipe for pigment settling.
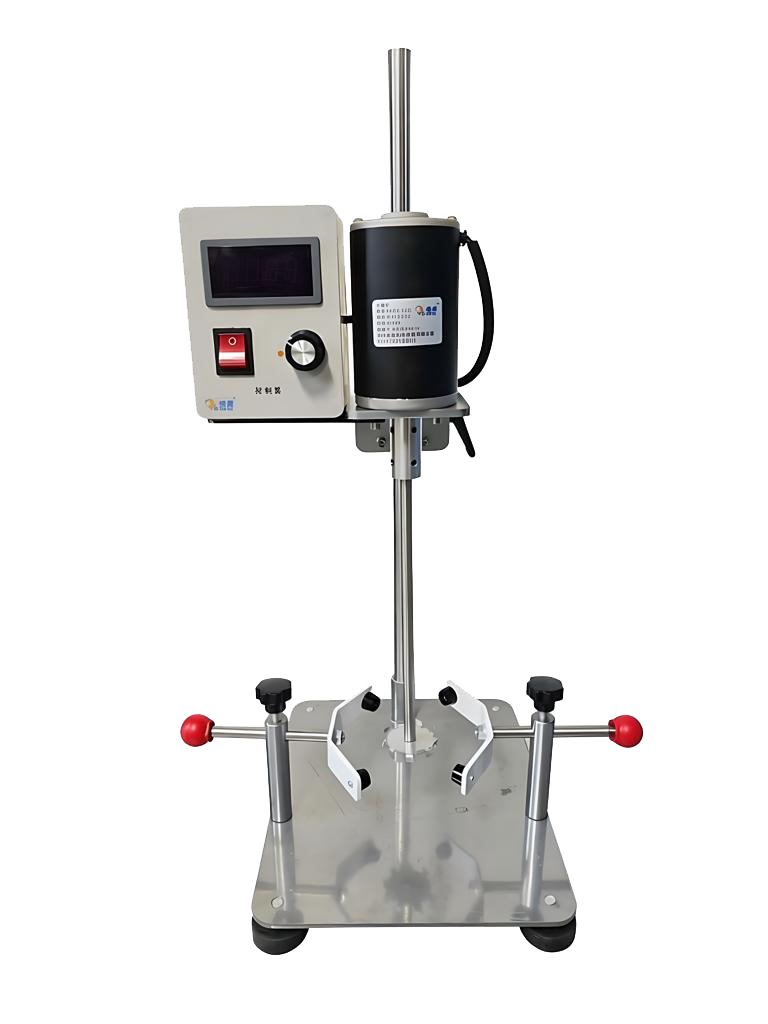
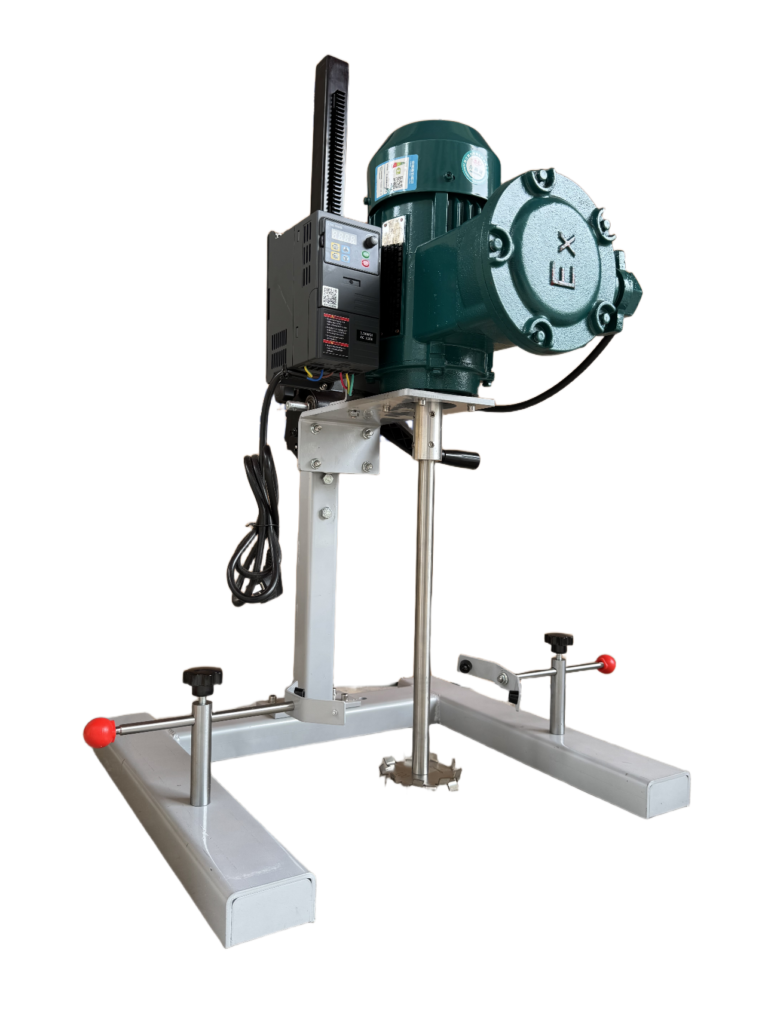
When setting up your workstation, it is crucial to match your machine’s capabilities to your formulation’s viscosity and volume. If you are unsure how to match blade sizes, RPM, and motor power to your specific benchtop needs, reviewing a detailed guide to selecting medium and small dispersers can save you from costly purchasing errors.
Once you understand your technical requirements, investing in reliable, durable machinery is the final step. Browsing dedicated laboratory scale equipment ensures you are using tools engineered specifically for high-shear environments, giving you repeatable, stable results every single time.
Frequently Asked Questions (FAQ)
Why is my pigment settling even after 60 minutes of lab scale dispersion?
Prolonged mixing does not guarantee stability. You may be dealing with a lack of anti-settling agents, a mill base viscosity that is too low to transfer shear, or an incorrect dispersant dosage that is allowing particles to re-agglomerate after grinding.
Can I fix a batch that has already settled?
It depends on the type of settling. If it is a soft settle, you can often remix it with low shear. If it has formed a “hard pack” at the bottom of the vessel, the dispersion is usually irreversible, and the batch must be discarded.
How do I test for settling before storing my samples?
Accelerated testing is your best option. You can place your formulated samples in a centrifuge to simulate months of gravity in just a few hours. Alternatively, storing samples in a moderately heated oven (e.g., 40°C to 50°C) will thin the liquid slightly, accelerating any potential pigment drop-out.
References
- Understanding Stokes’ Law and Settling Velocity – Wikipedia
- Principles of Rheology in Fluid Dynamics – Wikipedia