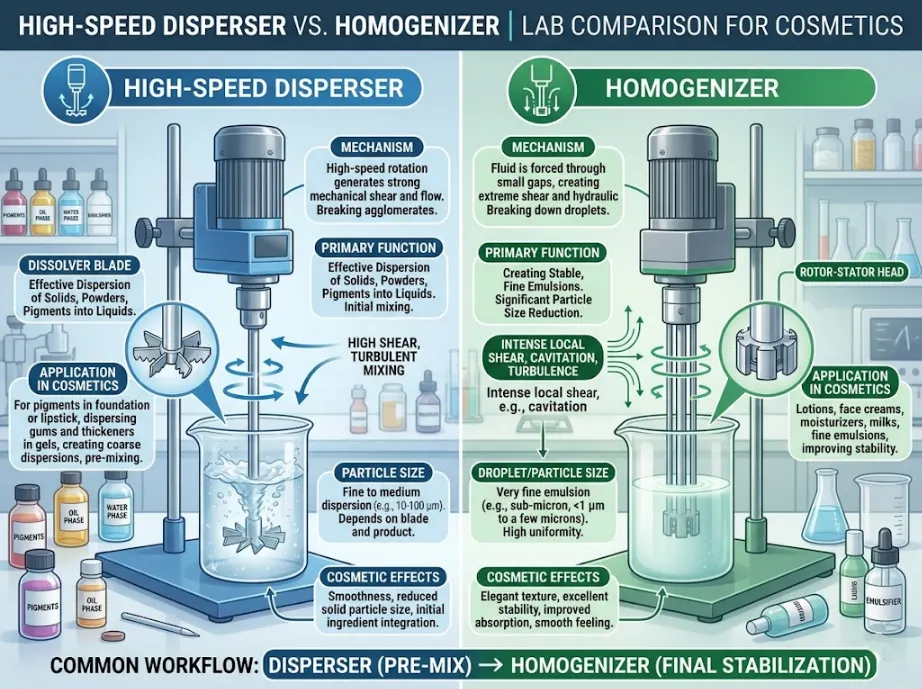
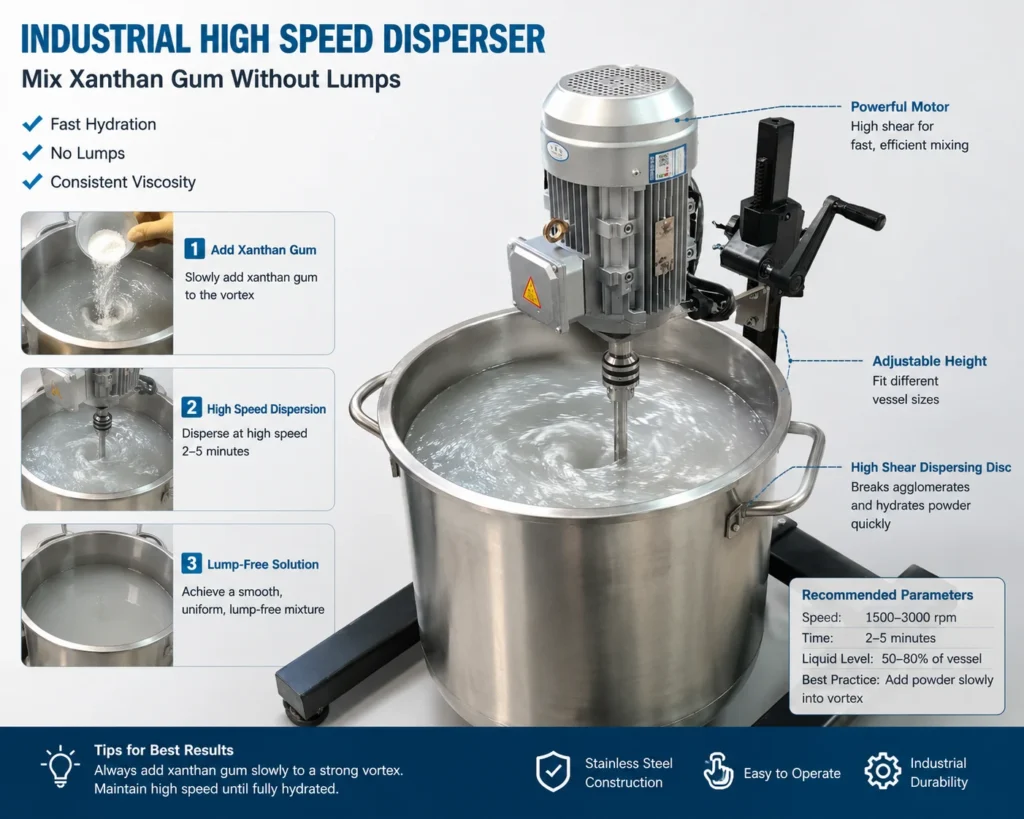
Cleaning a lab disperser should not take longer than the dispersion test itself. The main problems are dried material around the shaft and disc, hard-to-reach surfaces, and residue left behind when changing colors or formulations.
An easy-to-clean lab disperser does not remove the need for a proper cleaning procedure. It makes the parts that contact the material easier to reach, remove, inspect, and reinstall. This is where a chuck-type removable shaft can help.
Quick answer: Clean the disperser before residue dries. Stop and isolate the machine, remove excess material, detach the shaft and disc when the machine design allows, clean them with a process-approved cleaner, dry and inspect the parts, and reinstall them securely.
Why Is a High-Speed Disperser Difficult to Clean?
The dispersing disc works at high speed, so material can spread over the disc, shaft, vessel wall, and other nearby surfaces. Cleaning becomes more difficult when:
- Paint, ink, resin, or adhesive begins to dry or cure.
- A dark color is followed by a light color.
- The shaft cannot be removed easily from the machine.
- The cleaner is not compatible with the processed material.
- Cleaning is delayed until residue has hardened.
The most effective improvement is often simple: make the wetted parts easier to access and start cleaning soon after the batch is complete.
How a Chuck-Type Removable Shaft Helps
On a fixed-shaft machine, the operator usually has to clean the shaft and disc while they remain attached to the disperser. Access may be limited, especially around the underside of the disc and the connection point.
A chuck-type design allows the operator to release the dispersing shaft according to the machine instructions. The removed shaft and disc can then be cleaned away from the motor and control area. This can make the following tasks easier:
- Cleaning both sides of the dispersing disc.
- Inspecting the shaft, disc, and connection area.
- Changing to another shaft or disc for a different test.
- Keeping dedicated wetted parts for selected colors or materials.
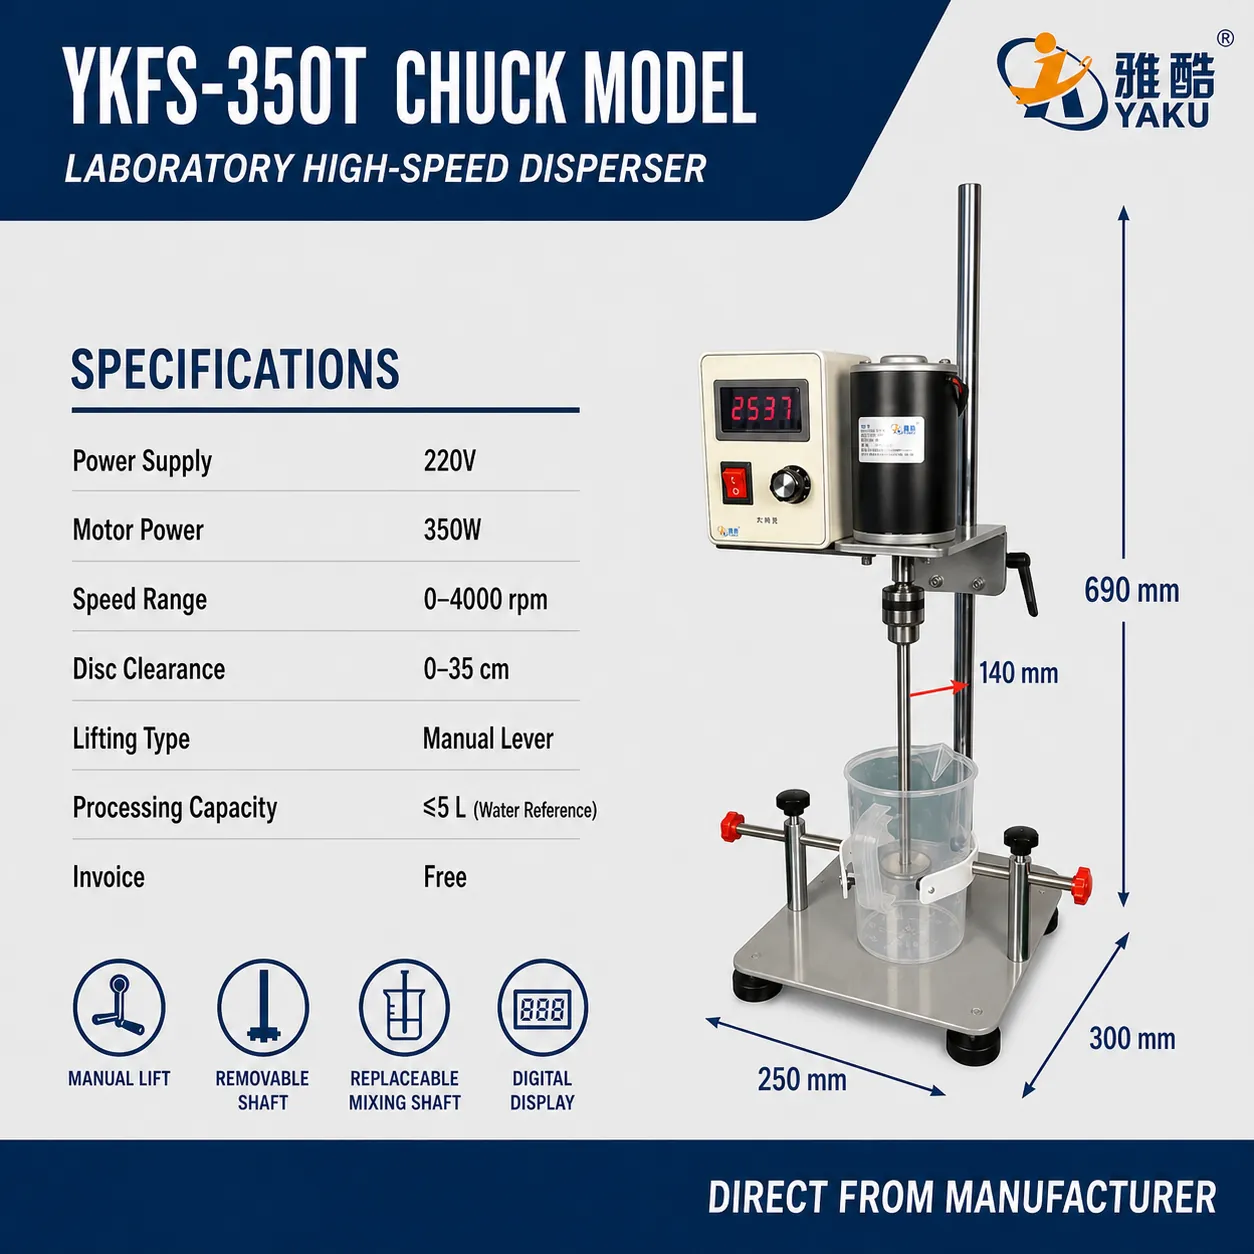
The YAKU YKFS-350T Chuck Type Laboratory Disperser has a 350 W motor, digital speed display, manual lever lift, and a speed range of 0 to 4000 rpm. Its stated capacity is up to 5 L using water as the reference. Actual usable capacity depends on viscosity, vessel size, disc size, and the required dispersion result.
Important: A chuck connection is not necessarily tool-free. Use the chuck key or specified tool when required, follow the machine manual, and confirm that the shaft is straight and securely clamped before operation.
How to Clean a High-Speed Disperser Safely
The correct procedure depends on the machine, material, cleaner, and safety rules at your site. The following is a general sequence, not a replacement for the equipment manual or your approved cleaning procedure.
- Stop and isolate the machine. Switch off the disperser and follow your site’s energy-isolation procedure before touching the shaft or disc.
- Wait for a complete stop. Never approach or wipe a rotating shaft or disc.
- Remove excess material. Use a suitable scraper or wiping method that will not damage the shaft or disc.
- Remove the shaft when permitted. Release the chuck only as described in the machine instructions. Support the shaft so it cannot fall.
- Use a compatible cleaner. Check the material safety data, your process requirements, and the cleaner’s compatibility with all wetted parts.
- Clean, rinse, and dry. Keep cleaning liquid away from the motor, controls, chuck, and bearings unless the equipment is specifically designed for exposure.
- Inspect the parts. Check the shaft for straightness and the disc for damage, wear, or remaining residue.
- Reinstall and verify. Clamp the shaft securely, confirm correct alignment and clearance, and carry out the approved pre-start check.
Choose the Cleaner Based on the Material
There is no universal cleaning liquid for every formulation. The table below is a starting point only.
| Material type | Cleaning approach | Main concern |
|---|---|---|
| Water-based paint or ink | Use an approved water-compatible detergent or cleaning process. | Clean before binders and pigments dry. |
| Solvent-based material | Use only a process-approved cleaner selected from the material and cleaner safety data. | Ventilation, fire risk, exposure limits, and local rules. |
| Reactive resin or adhesive | Clean immediately with the approved process cleaner. | Material may cure and become difficult to remove. |
| Food or cosmetic sample | Follow the site’s hygiene, allergen, and cleaning-validation procedure. | Cross-contamination and cleanliness verification. |
Do not assume that a cleaner is safe because it worked with another product. Review the safety data sheets and confirm compatibility with seals, coatings, stainless steel parts, and the processed material.
Fixed Shaft or Chuck Type: Which Is Better?
| Application | Practical choice |
|---|---|
| One material, few formulation changes, simple routine cleaning | A fixed-shaft lab disperser may be sufficient. |
| Frequent color or formulation changes | A chuck-type removable shaft can improve access and changeover flexibility. |
| Different disc sizes or shaft lengths are used | A chuck-type model makes tool changes more convenient when the parts are compatible. |
| Strict separation between selected materials | Consider dedicated shafts and discs, supported by an approved cleaning and validation procedure. |
The chuck is only one part of the decision. You should also check motor power, speed range, lift travel, vessel dimensions, disc diameter, wetted-part material, and viscosity. If the material is highly viscous, a standard high-speed lab disperser may not be the best solution. YAKU can review whether you need another motor, a geared mixer, or a different mixing configuration.
For more selection information, see our laboratory disperser range, dispersing discs and parts, and guide to determining liquid viscosity.
Questions Buyers Often Ask
Does a chuck-type shaft eliminate cleaning?
No. It improves access and makes shaft removal or replacement easier, but the shaft, disc, vessel, and any other wetted parts still require a suitable cleaning procedure.
Can I use one shaft and disc for every color?
Sometimes, but the result depends on your acceptable contamination limit and cleaning validation. For sensitive light colors or incompatible materials, dedicated shafts and discs may be more practical.
Can I run the disperser at high speed in solvent to clean it?
Do not use this as a general cleaning method. It may create splash, vapor, static, fire, or exposure hazards. Only follow a machine-specific and site-approved procedure developed for the exact equipment and cleaner.
How often should I clean the disperser?
Clean it after each batch or changeover as required by your process, preferably before residue dries or cures. Inspection frequency should follow your operating procedure and the condition of the shaft and disc.
Is the YKFS-350T suitable for high-viscosity material?
It is mainly intended for laboratory dispersion with a capacity of up to 5 L using water as the reference. High-viscosity materials may require a different motor, lower-speed torque, a geared mixer, or another configuration. Selection should be based on viscosity, batch volume, vessel size, and the required result.
Send Us Your Cleaning and Changeover Requirements
Tell YAKU your material name, viscosity, batch volume, vessel dimensions, current cleaning method, approved cleaner, and how often you change colors or formulations. We can review whether a chuck-type laboratory disperser, dedicated shaft and disc set, or another mixing solution is more suitable.